 Back in 2007, I was trying to figure out what to do as a follow-up to my Mary-Anne model. I was only just starting to develop stories for Mary, and I hadn’t yet run into any problems with the character, but I needed something to switch off to in the meantime.
At some point, my coworkers convinced me that I should create a video tutorial on creating 3D pinup girls, and maybe sell it to Digital Tutors. At the time, DT didn’t have anything like that, and what they did have used models that lacked appeal. That settled it – I was going to make a tutorial series!
…I was also hilariously in over my head, but I wouldn’t realize that until later.
I don’t remember spending much time on planning or design. What would the character be? French maid? Sexy nurse? Naughty Librarian? No, it should be something different… How about a hula-girl? Sure, why not, voice in my head!
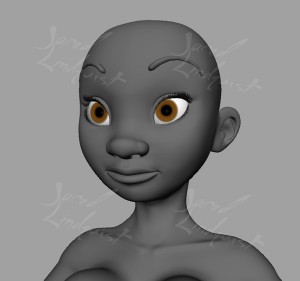
I quickly settled on a design inspired by Chris Sanders’ work, drew up a model sheet, and started modeling, making sure to record video of the entire process. I had to be careful though – often I’ll zone out while I’m working, so for this project I had to stay alert and remind myself to at least mutter some vocal notes into the microphone. The actual instruction would be dubbed in later.
…or it would have, if my microphone had been working more than half the time. Once I was done modeling, I decided to review and attempt to edit the footage. Only half of it had any of my mumbled notes. The rest was dead-silent, and I know longer remembered what thought process was, or what points I intended to make. Unfortunately, this would not be the only time this happened.
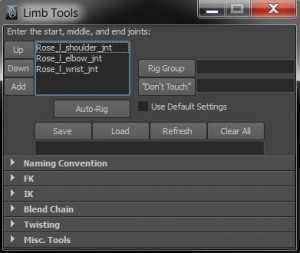
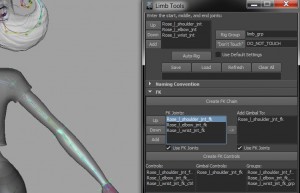
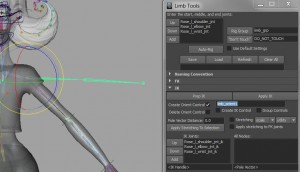
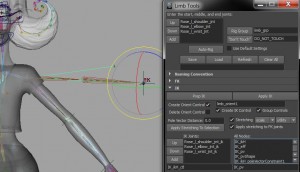
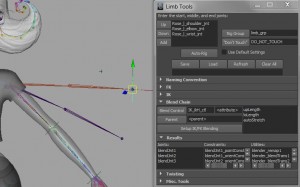
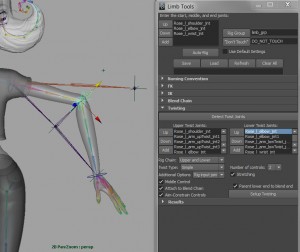
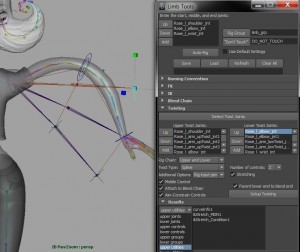
Rigging is where the whole thing started to fall apart. I didn’t know nearly as much about rigging as I do now. I barely knew anything. What I did know was learned from other tutorial DVDs, which I was now regurgitating. A tutorial video doesn’t exactly work if half-way through you need to refer your viewers to someone else’s video. The only technique I could truly say was mine, was the character’s breast rig.
Also fairly late in the project, I realized I had no idea what to do about the character’s hair. Realistic hair wasn’t much of an option – Maya’s nHair either didn’t exist yet, or I didn’t have access to it; Shave And A Haircut is a plugin that not everyone would have, and isn’t/wasn’t good at long hair, so why waste time covering it? Solid, sculpted hair didn’t appeal to me. Textured strips are still a technique I haven’t figured out.
So, between the rigging and the hair, I ended up abandoning the project. honestly, if I wasn’t yet at a point where I could figure those things out on my own, then who the hell was I to teach anything to anyone else?
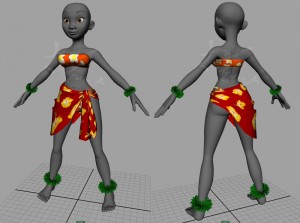 Looking at the character now, I’m thinking it might be time for me to clean her up and finally finish her, if only so I have a new portfolio piece. Maybe I could even turn around and sell the model online, since I don’t have any other plans for her. I also think it’d be funny to make another attempt at a tutorial video, but only for the breast rig. People would buy it. Or maybe one would buy it, and everyone else would pirate it. :p
